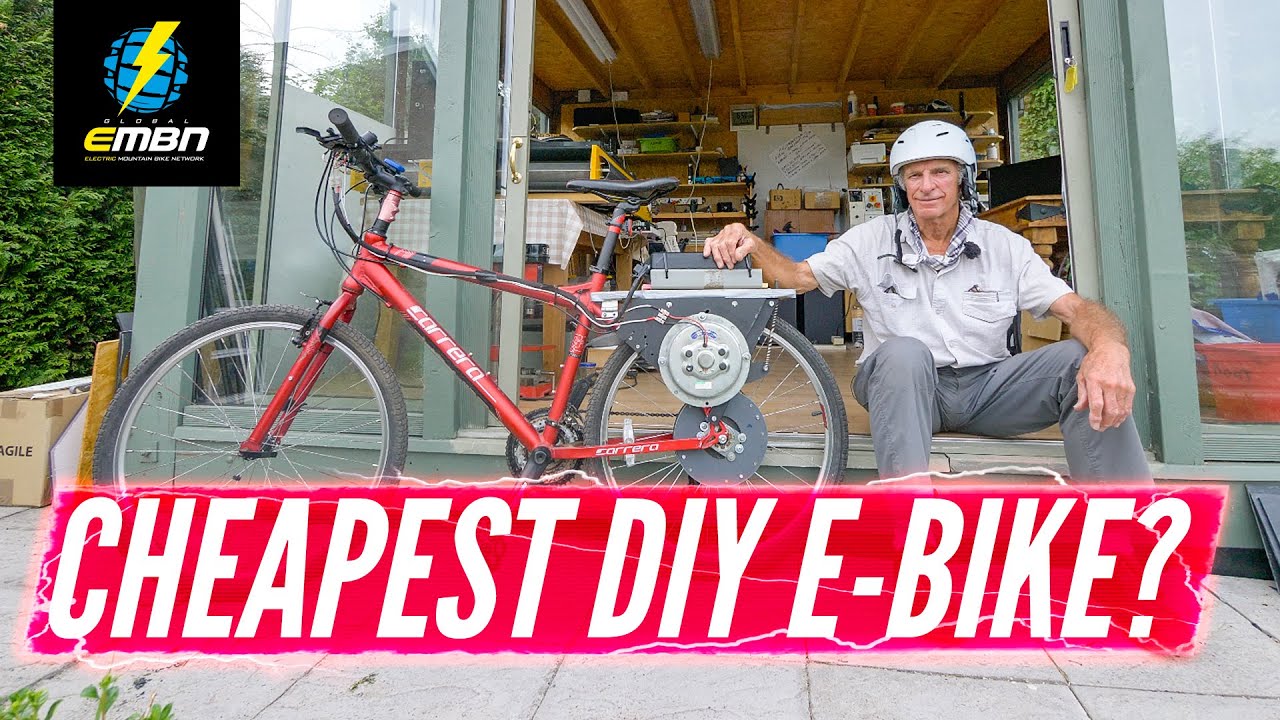
Is it Possible to Make Your Own Electric Bike?
Understanding the Basics of an Electric Bike
Before delving into the prospect of building your electric bike, it’s crucial to understand the basic components and functionality of an electric bicycle. An e-bike consists of three primary components:

1. The Bicycle Frame
The frame is the backbone of any bike, electric or otherwise. You can either start with a new frame or convert your existing bicycle into an electric one. Keep in mind that the frame should be sturdy enough to support the additional weight of the electric components.
2. Electric Motor and Battery
The electric motor is the heart of an e-bike. It provides the necessary propulsion to assist your pedaling efforts. Paired with the motor is a battery pack that stores and supplies energy to the motor. The size and power of these components can vary depending on your desired level of assistance and range.
3. Controller and Throttle
To regulate the motor’s power and speed, a controller is used. It acts as the brain of your electric bike, interpreting input from the throttle and providing the necessary instructions to the motor. The throttle, often similar to those on motorcycles, allows you to control the level of assistance provided by the motor.
Building Your DIY Electric Bike
Now that you have a basic understanding of the components, let’s explore the steps involved in creating your electric bike:
1. Choose Your Bicycle Frame
Begin by selecting a suitable bicycle frame. If you’re converting an existing bike, ensure that it’s compatible with an electric conversion kit. You’ll need enough space to install the motor, battery, and controller.
2. Select the Right Motor and Battery
Choosing the motor and battery is a critical step. Consider factors like motor power (measured in watts), battery capacity (measured in ampere-hours), and voltage. The choice will depend on your desired speed, range, and terrain you’ll be riding on.
3. Acquire a Conversion Kit
To simplify the process, you can opt for an electric bike conversion kit. These kits include the motor, battery, controller, and often the necessary wiring and mounting hardware. They are designed for ease of installation and compatibility with a wide range of bicycles.

4. Install the Electric Components
Follow the instructions provided with your conversion kit to install the motor, battery, and controller on your bike. You may need basic tools and mechanical skills for this step. Ensure that all components are securely fastened and wired correctly.
5. Connect the Electrical Wiring
Carefully connect the electrical wiring, making sure there are no loose connections or exposed wires. Pay close attention to safety precautions, as improper wiring can pose a risk of fire or electrical hazards.
6. Test and Fine-Tune Your E-Bike
After assembling all the components, it’s essential to test your electric bike in a controlled environment. Ensure that the motor responds to the throttle and that the brakes function correctly. Fine-tune the controller settings to achieve your desired level of assistance and responsiveness.
7. Safety Considerations
Safety should always be a top priority when building your electric bike. Make sure to wear a helmet and follow all local laws and regulations regarding electric bikes. Additionally, regular maintenance and safety checks are crucial to keep your e-bike in optimal condition. https://www.theebikespecialist.com.au/
Challenges and Considerations
While building your DIY electric bike can be a rewarding experience, there are some challenges and considerations to keep in mind:
1. Technical Expertise
Building an electric bike requires a certain level of technical expertise. If you’re not familiar with electrical systems and bike mechanics, you may need assistance from someone with experience.
2. Cost
While DIY bikes can be cost-effective compared to buying a pre-built e-bike, the initial investment in quality components can still be substantial. Be prepared to budget for the motor, battery, conversion kit, and any tools or accessories you may need.
3. Warranty and Support
Most pre-built bikes come with warranties and manufacturer support. When building your e-bike, you may not have the same level of support and warranty coverage, so be prepared to troubleshoot and maintain it yourself.
4. Legal and Safety Compliance
Bike laws and regulations vary by location. Ensure that your DIY bike complies with local laws, including speed limits, power restrictions, and safety requirements.
Conclusion
In conclusion, it is indeed possible to make your own electric bike with the right components, tools, and technical knowledge. Building a DIY bike can be a fulfilling project for enthusiasts who want a customized e-bike tailored to their specific needs. However, it’s crucial to research and plan carefully, prioritize safety, and be prepared for the challenges that may arise during the construction process. Whether you choose to build your e-bike or purchase a pre-built one, the joy of biking awaits you, offering a greener and more efficient way to explore the world on two wheels.


